DIY Hair Bow Holder in 3 Simple Steps


I’ve channeled my inner artist and I made an adorable DIY Hair Bow Holder in 3 Simple Steps! After gaining some craft confidence by successfully turning my daughter’s baby headbands to hair bows, I now needed a place to put all of her cute hair clips. My kiddo has a lot of hair and although I love to fix her curly hair with pretty hair bows, I don’t love constantly losing them and finding them all over the house. So, I’ve been scoping out hair bow holders. I’ve admired them at craft fairs for $25 and up, but I wanted to make my own masterpiece-one that was personally made with love and less expensive.
Last week, I took a quick trip to the craft store and I came back with some cute and inexpensive materials and a plan (in my head) of how I was going to make it happen.
Here’s how I made a DIY Hair Bow Holder in 3 Simple Steps:
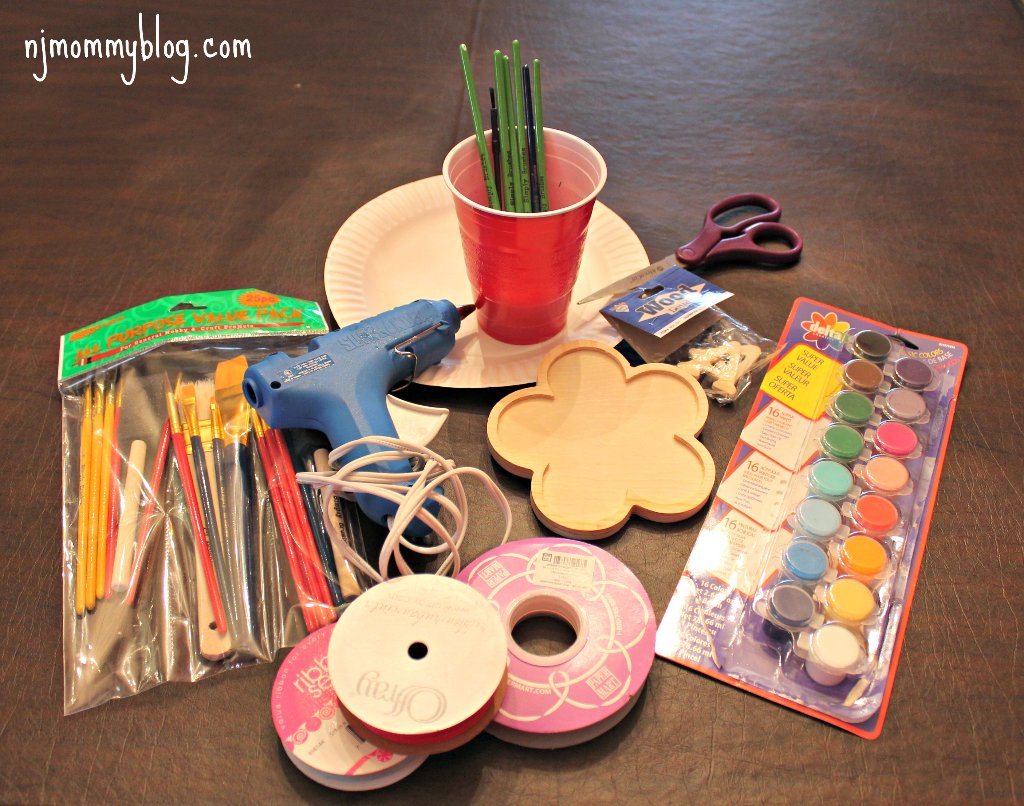
Supplies:
- Unfinished Wood Cutout with hanging prong on the back
- 1.5 inch Unfinished Wooden Initial Letter
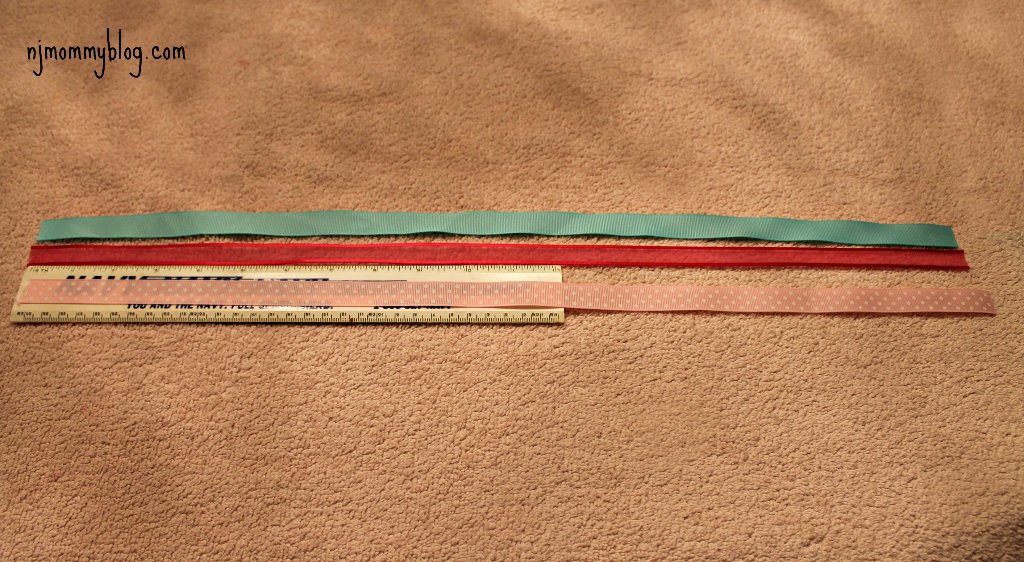
- Three 20 inch long pieces of 3/8 inch ribbon
- Scissors
- Ruler/Tape measure
- Acrylic paint (varying in colors)
- Paintbrushes (varying in size)
- Glue gun and glue stick
- Cup of water
- Sharpie (optional)
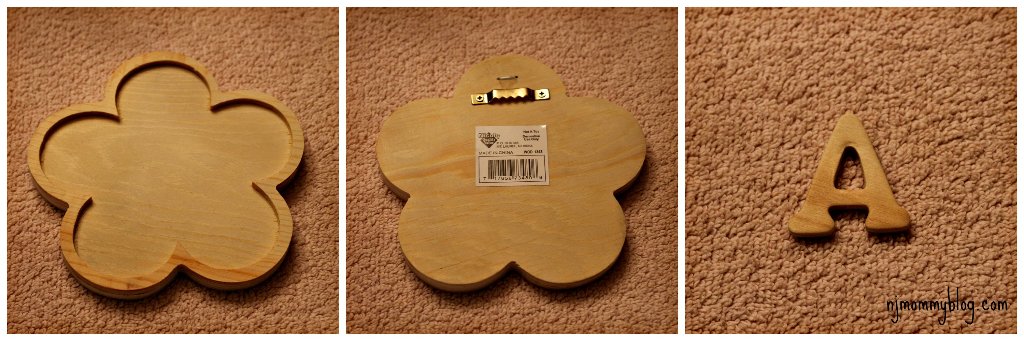
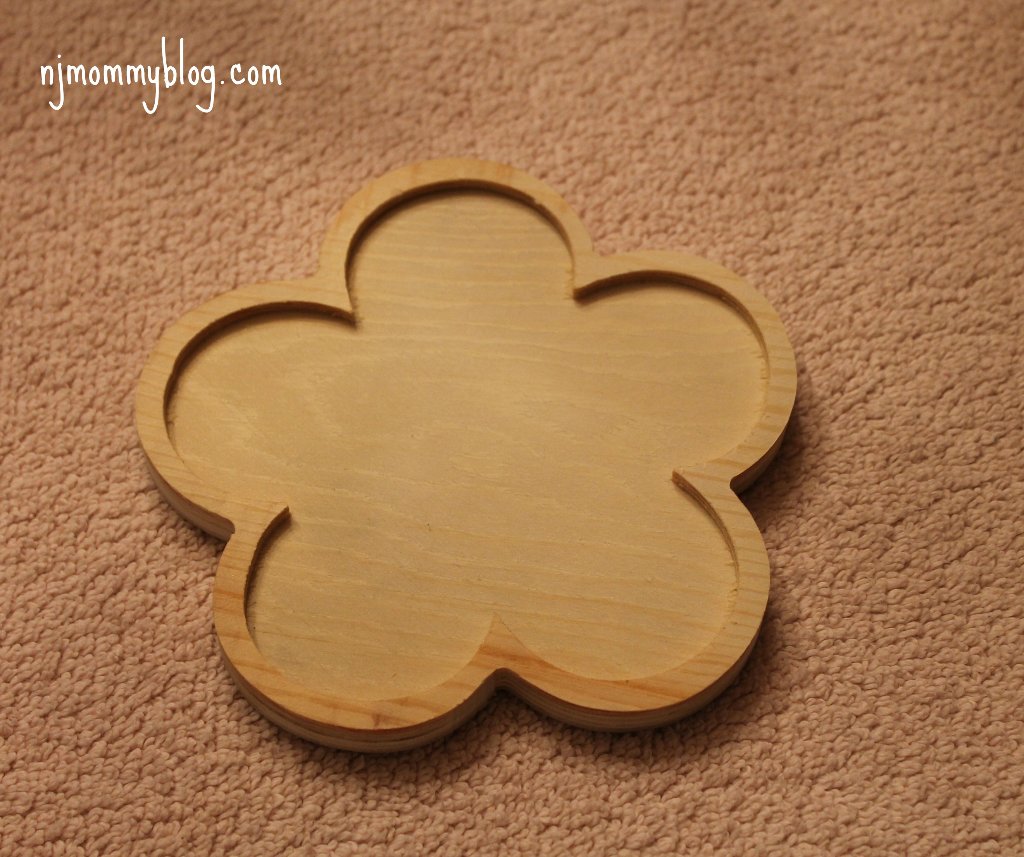
Here’s a closer look at the unfinished wood pieces. I got this flower piece at the craft store for $1 and the “A” in a bag of 3 for $2. After making G her own similar hair bow holder, I made this one as a gift for my new baby cousin.
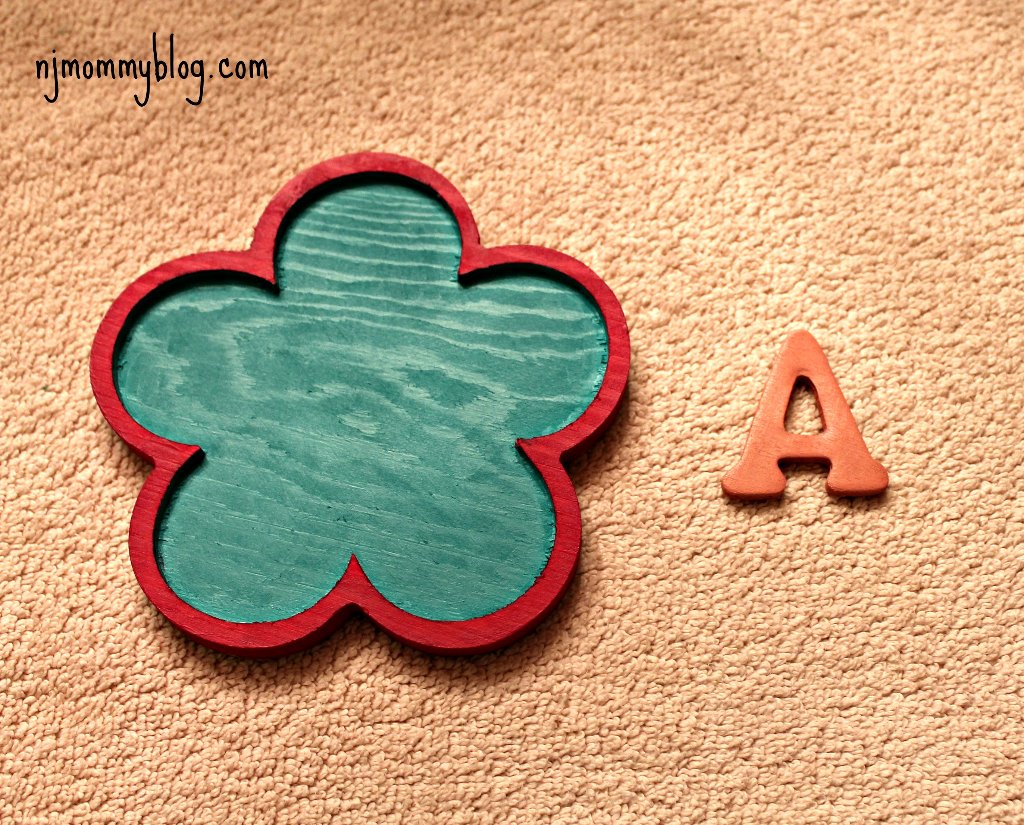
1. I painted the front, sides, and back of the unfinished wood flower piece. Then, I painted the front and sides of the wooden initial letter. I allowed time for each side to dry as I went. When the paint was dry, I used a Sharpie to sign the back with the date and a special message.
2. I measured and cut three 20 inch long pieces of the 3/8 inch ribbon.
3. I used the hot glue gun to glue the ribbon to the back of the wooden flower. Then, glued on the wooden initial to the front.


Here’s the finished product!
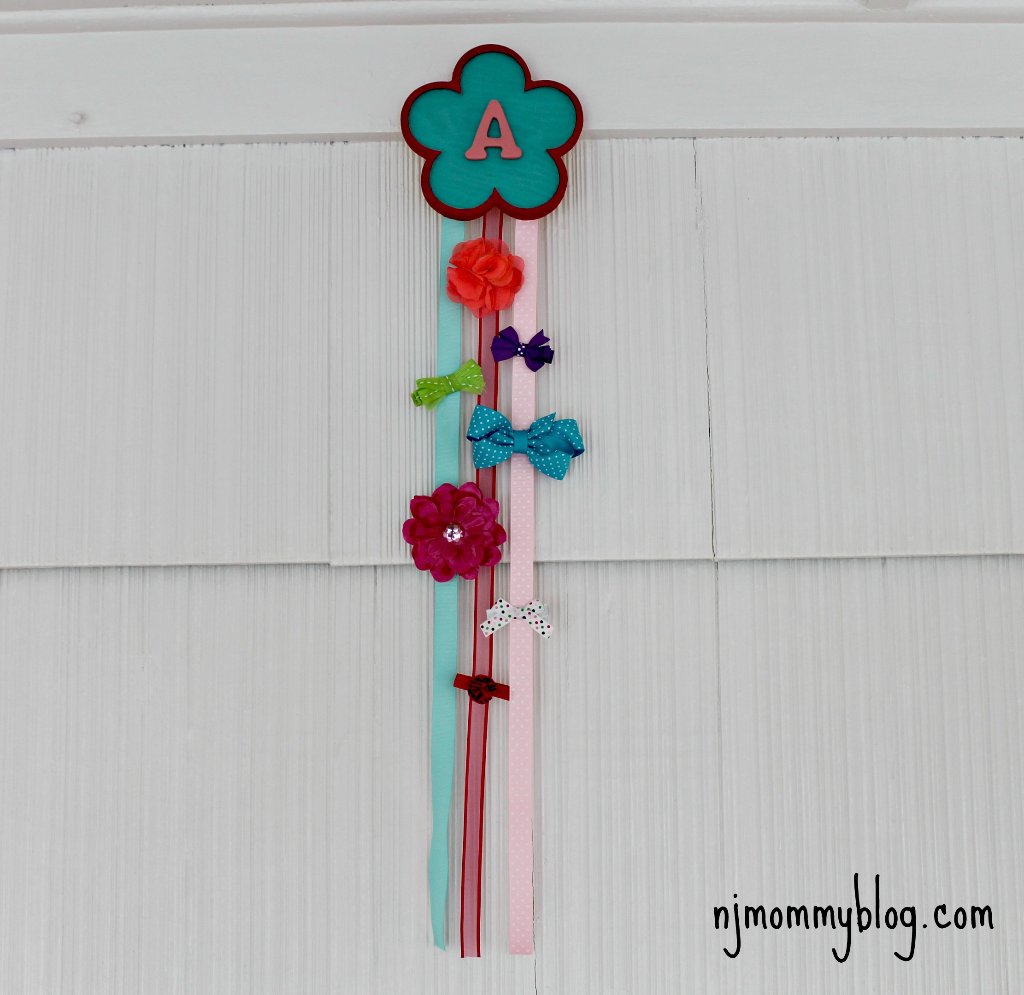
The result was adorable, functional, and so inexpensive! If you’re looking for a simple craft for your child’s room or one that makes an adorable gift, give this one a try. This is also a great craft older kids can make on their own.
Talk about it